Browsed by
Category: Food for Todd

Fermentation : Sauerkraut (fermented cabbage)

Fermentation : Sauerkraut (fermented cabbage)

I have always wanted to make sauerkraut, but as usual, procrastination set in and before I knew it, it’s year 2020! I bought an organic cabbage yesterday. It cost a bomb… seriously. I have never paid so much for vegetables before… Maybe I should start growing cabbages at home. *ponder*

There it sat on my counter, staring at me, daring me to let it rot. I couldn’t stare it down, so I moved my ass and chopped it down. Ha da! And it’s actually surprisingly easy to do! So all of you out there, if you are still thinking (for the longest time ever) of starting but not, JUST DO IT!

Ingredients:

Cabbage (Organic if possible. Or else you will need to use vegetable wash to clean pesticide and yuckies off and also kill off the natural bacteria needed for fermentation)

Salt (I used Himalayan Pink Salt. That’s what I have at home anyway. You can use other mineral rich salts. I draw the line at refined salt.)

Before you start, make sure you have all the tools and containers ready.  Wash them down with soap. Sterilise them if it makes you feel better.

Tools:

Fermentation jar (I use the Lock&Lock Fermentation Jar that comes with a one-way air lock. I prefer to use food grade glass jars due to the high acidity of the ferment and it’s going to stay in it for a while.)

A long stick or spoon (for packing the cabbage into the jar)

Mixing bowl

A weight (to make sure your cabbages stay under the brine. I used a glass jar filled with water.)

7 Easy Steps:

1. Wash your organic cabbage under running water.

2. Pull out the biggest leaf. Cut it down so that it can cover the cabbage slices.

2. Finely slice the rest of the cabbage.
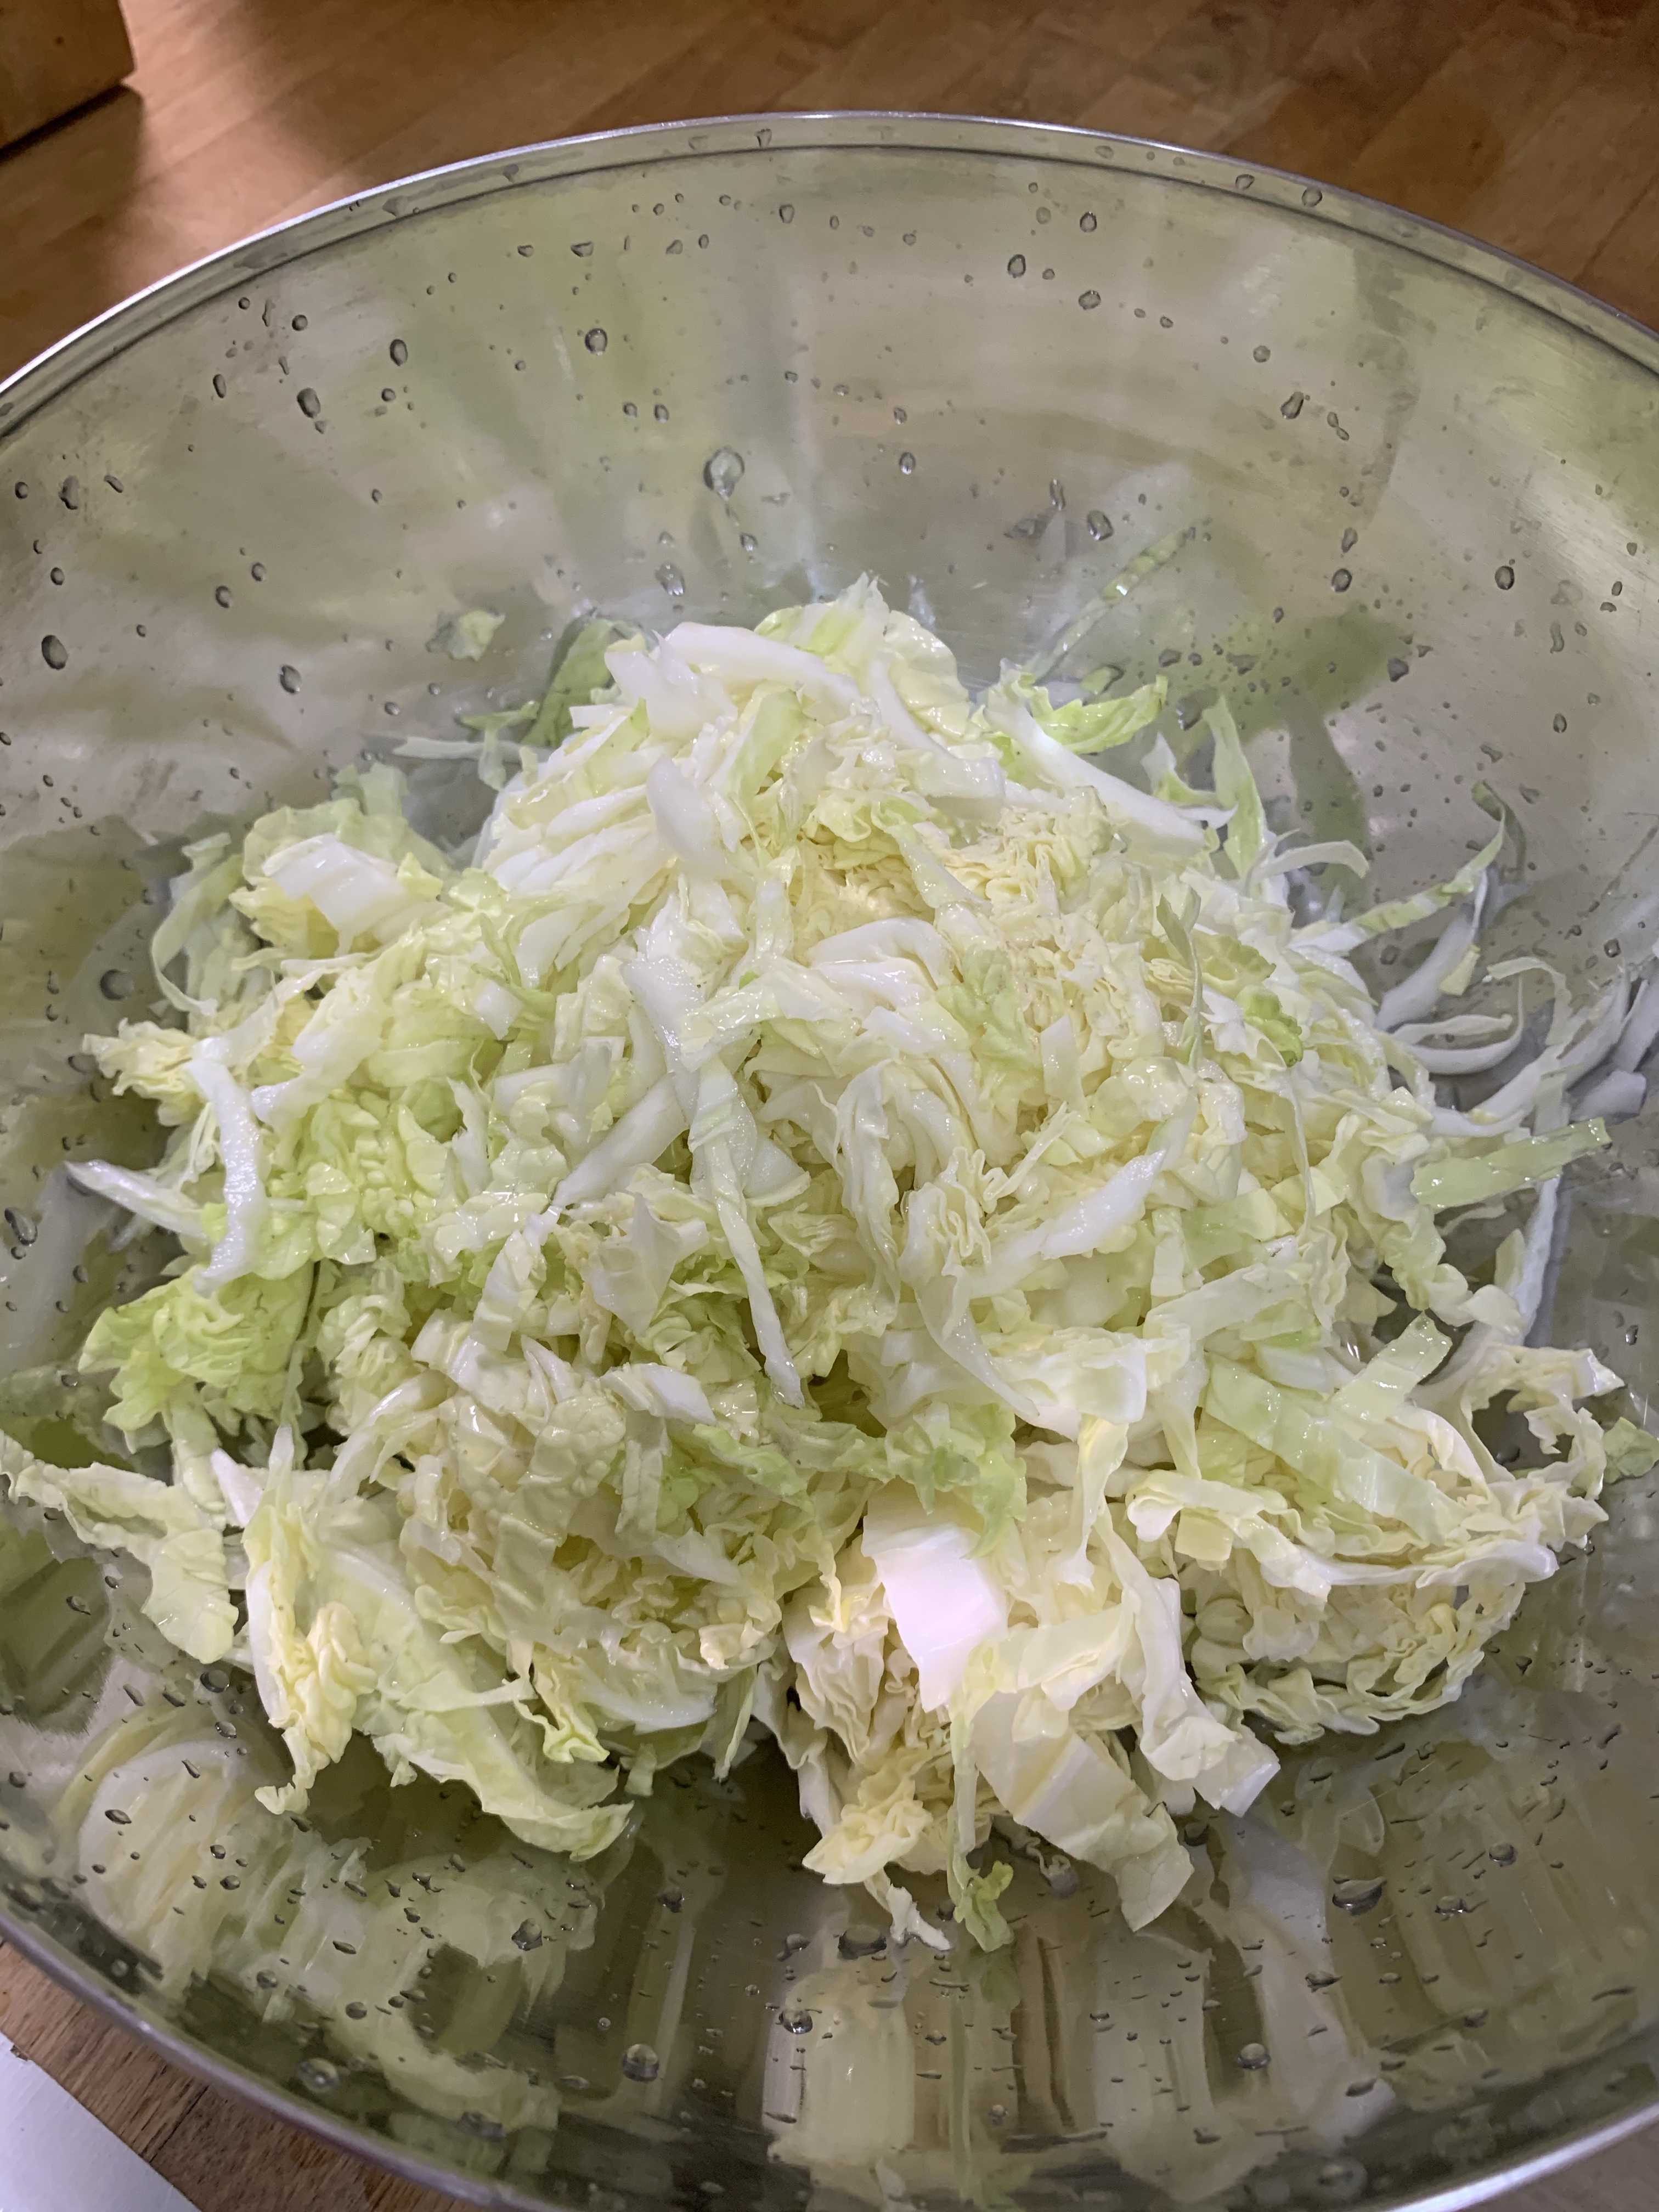
Fermented Cabbage Sauerkraut

3. Add in some salt over the shredded cabbage.  Massage it in with your fingers. (Oh yes, please wash your hands and the parts of your arms that will touch the cabbage, if you are making a big batch. But don’t use antibacterial soap which will interfere with the fermentation process.) Slowly you will see a puddle of liquid polling at the bottom of the pool. Speaking of which, it’s quite therapeutic to massage the cabbage. *lol*

Fermented Cabbage Sauerkraut

4. Taste the cabbage. If you feel that it’s not salty enough, add in more salt. If the brine is still very little, add in more salt and massage until there’s enough brine to cover the cabbage. If it’s already VERY salty but still not enough brine to cover the cabbage, you can add some lemon juice. If you have shredded your cabbage finely enough, you will usually have enough brine.

5. Grab the cabbage and start stuffing them down the fermentation jar. As you do that, use your stick or spoon to push the bits down to make sure there aren’t any air pockets. This stick that I bought from Daiso to roll my pastry dough is just nice for the job.

Fermented Cabbage Sauerkraut

6. Once you have filled your jar, put your big cabbage leaf or leaves over them and press down so that all the bits remain below the brine. I use a clean glass jar, filled with water, to weigh down the leaves. I am buying some glass weights from Amazon. Hope they come soon! Then I capped it with my air lock lid. If you do not have this, you can cover it with a cloth and snap a rubberband over the opening. Or you can just cover the lid loosely over so that air can escape.
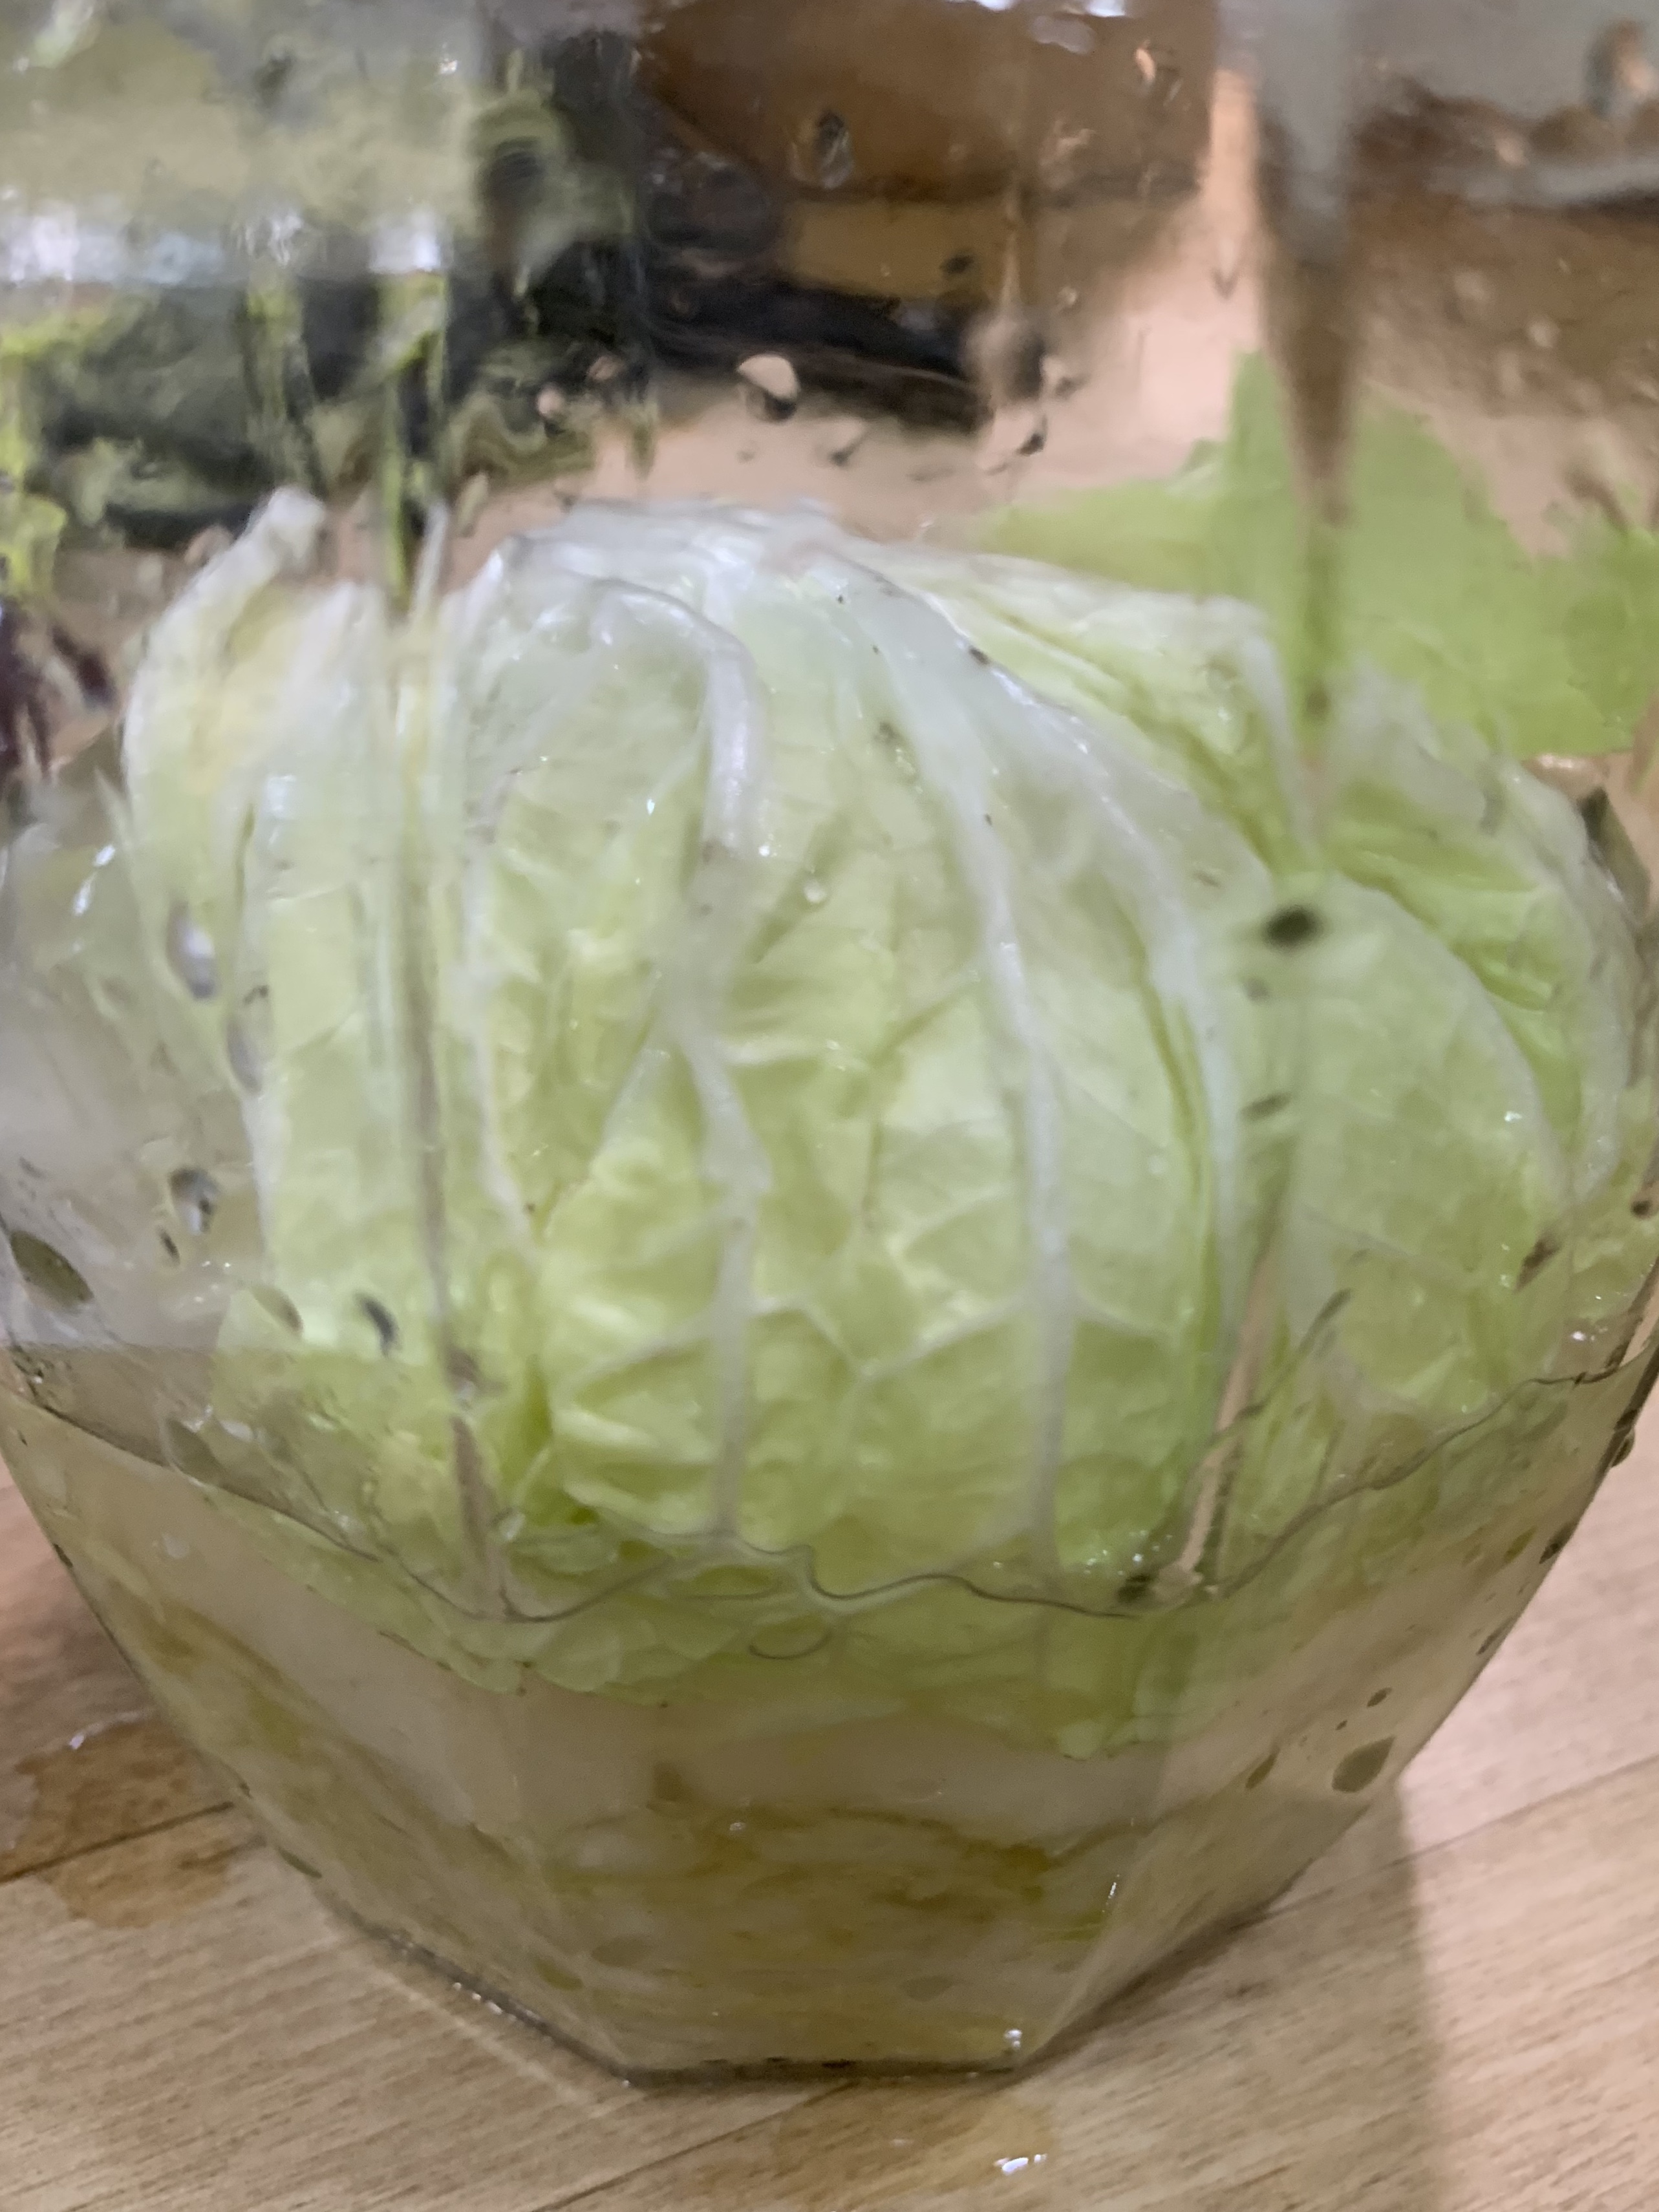
Fermented Cabbage Sauerkraut


Fermented Cabbage Sauerkraut

7. I put my precious jar in a dark corner of my kitchen. The best temperature for fermentation is between 20-24 degree C. So that the cabbage has time to ferment nicely and not turn out to be too tart.

Fermented Cabbage Sauerkraut

How do you know if it’s done? Typically, it’s done if it reaches 4.6pH or lower. I keep a stack of ph paper at home to test for new ferments. Usually for old ferments, I would know the estimated amount of time. Alternatively, do the eye-taste-smell-touch test, which I usually do!

Eye – should look a little yellowish

Taste – nicely sour and a little picklelike (if there’s such a word), but not to the extent of becoming vinegar….

Smell – Sour

Touch – firm or slightly soft but not slimy. Slimy = bad news

Once you feel that the ferment is ready, you can bottle them and keep them in the fridge to hibernate the bacteria so that you can stop the fermentation process.
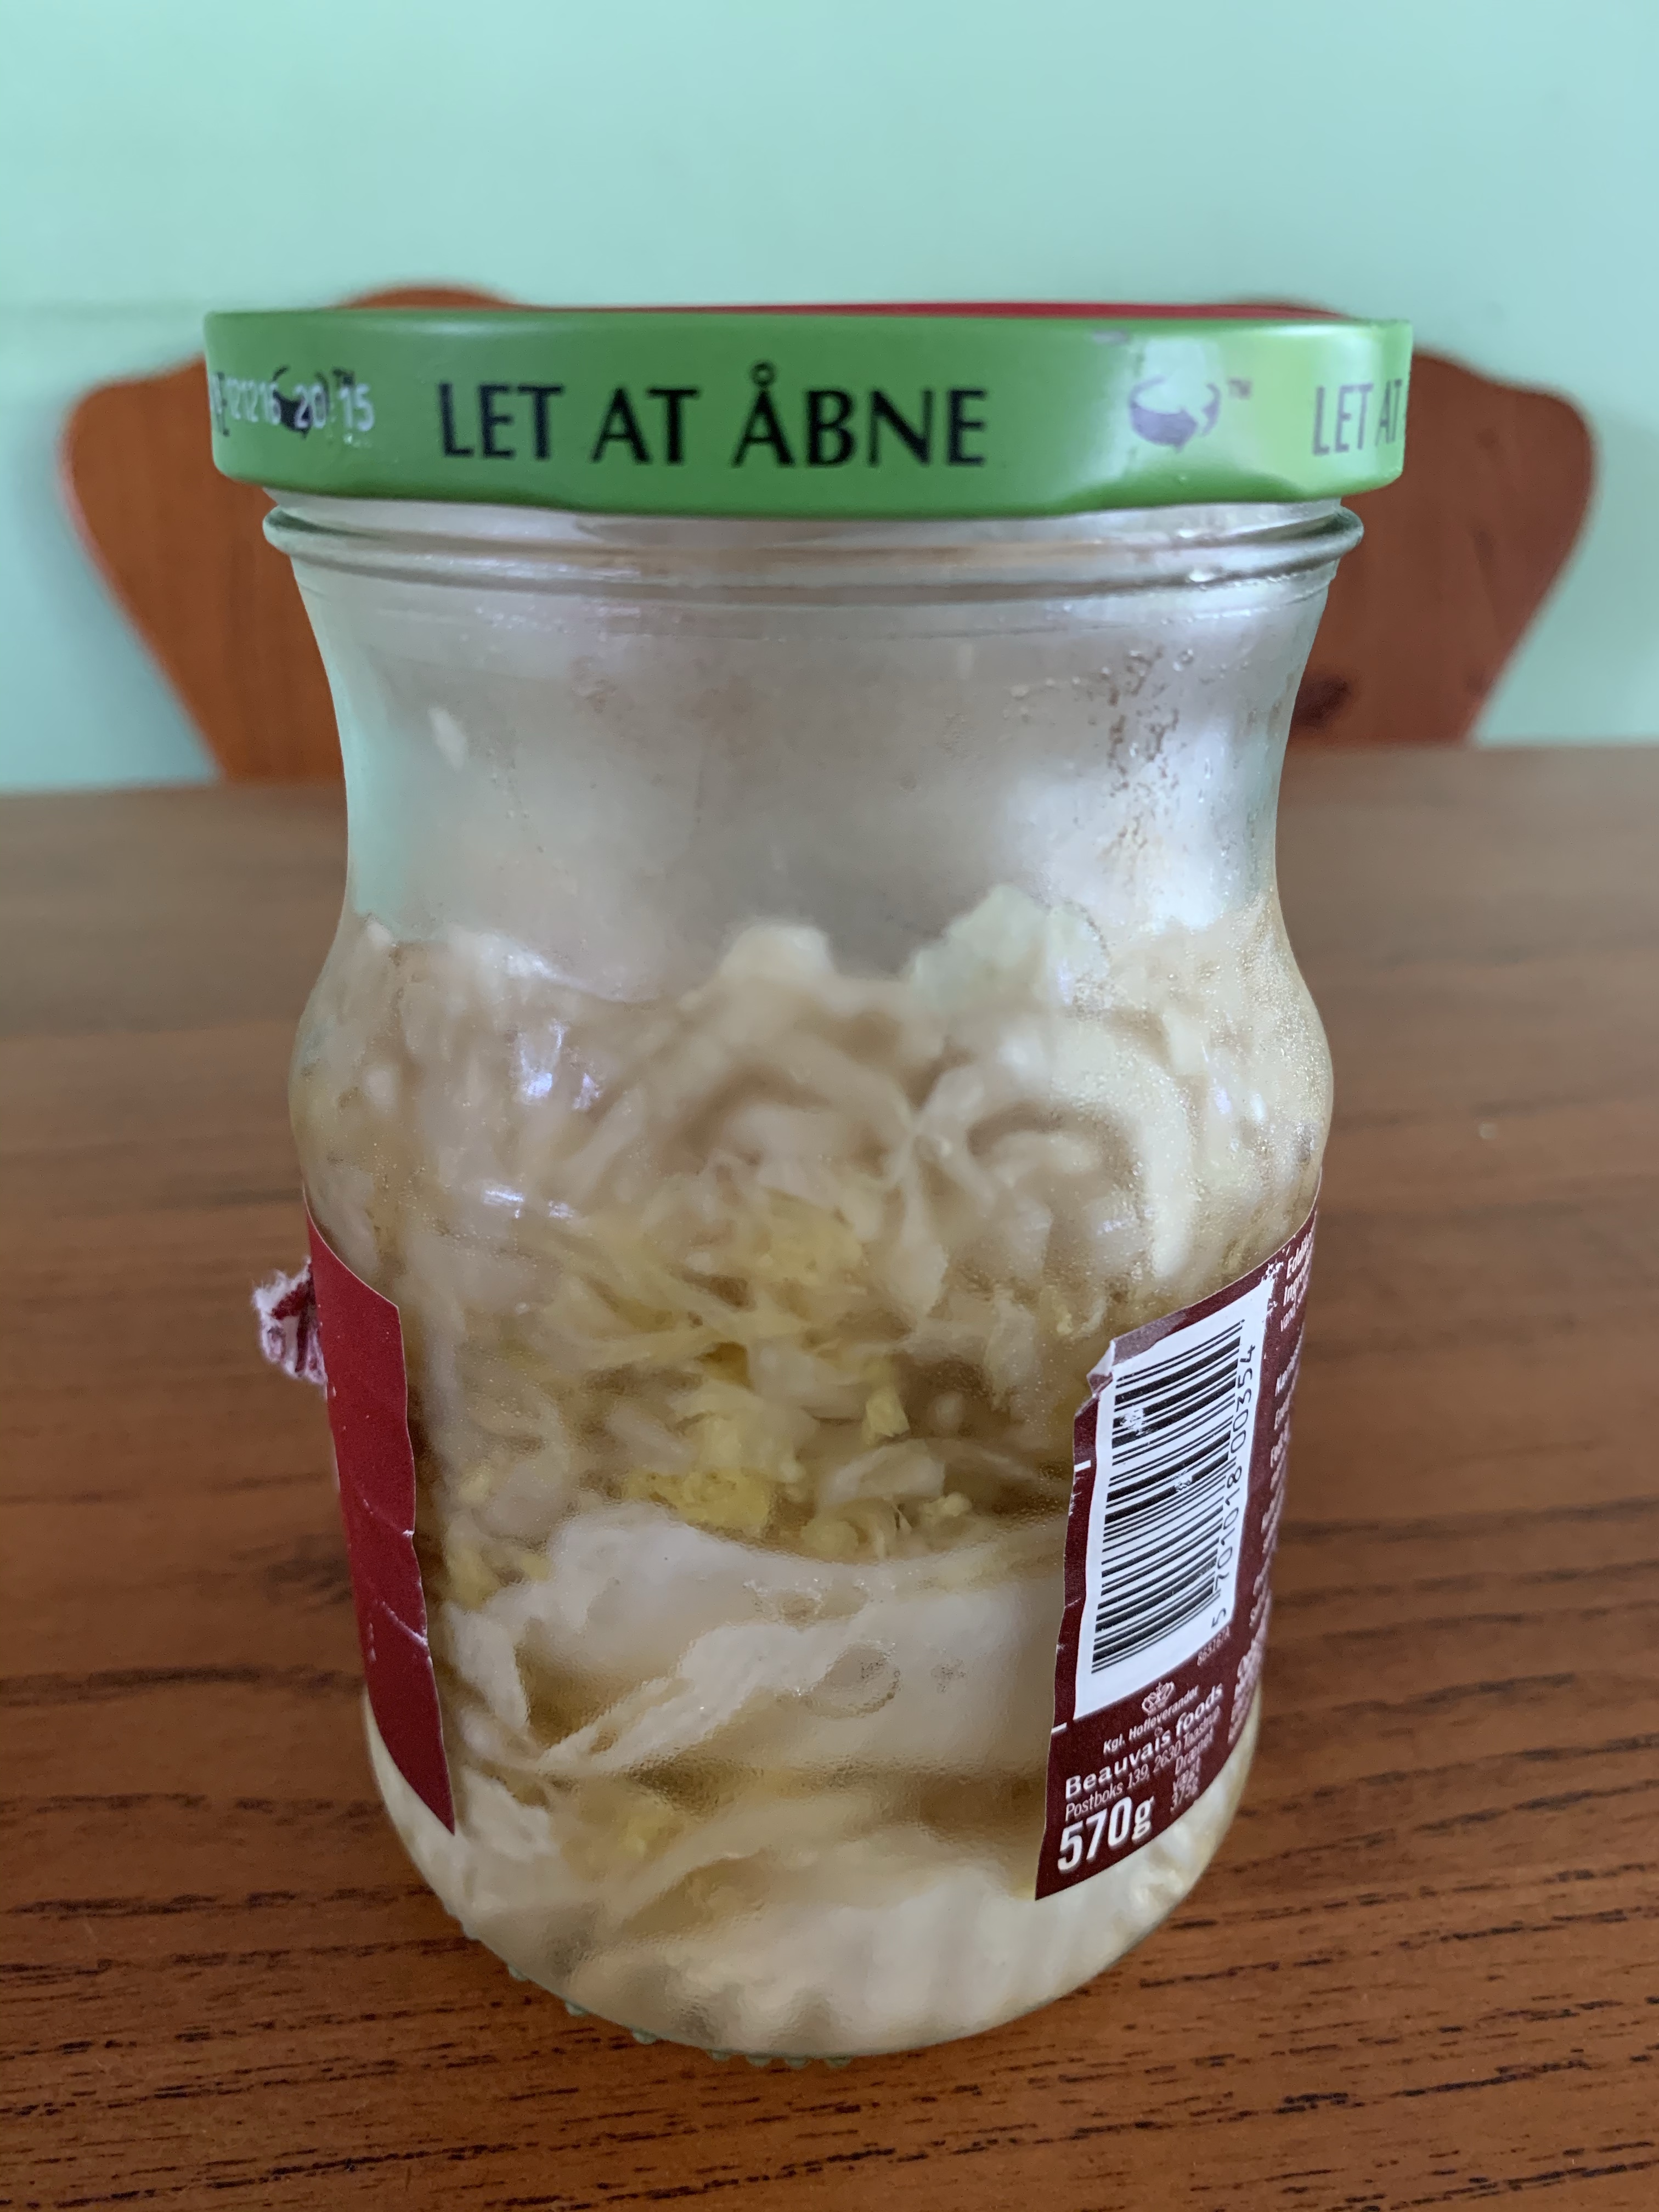
Fermented Cabbage Sauerkraut


The best thing is – it puts good microbes into your body which boosts your immune system which is extremely important during times like this. Take that, Coronavirus!!! AND most importantly, you will have some food at home and you don’t have to fight with the long queues of hoarders at the supermarkets!! Right now, the supermarkets are the most dangerous places in Singapore – what with the long queues and close proximity to dunno-who-is-already-infected.

Besides, I’m trying to work in more fermented food into our diets as these prove to be beneficial to my 宝贝 who is battling the eczema monster!!


Home Made Gluten Free Okara Crackers

Home Made Gluten Free Okara Crackers

Ever since I bought my soy milk maker, I have been churning out home made soy milk (and other plant milks like almond milk too!) and… lots of soy bean pulp…..  Well, I hate the idea of wasting stuff and those were premium organic soy bean pulp!!

If you google, you will be able to find various uses for the pulp and here’s one that I have tried out. Okara Crackers! I replaced the wheat flour in the recipe so that the crackers can be made gluten for my 宝贝.

Recipe for Gluten Free Okara Crackers

265g soya bean pulp (one round of soy milk will yield this amount – thereabout)

1 tbsp olive oil

1/2 tsp salt

10tbsp one to one GF flour

herbs or cheese flakes or cinnamon sugar (optional) to create different flavours

Add all ingredients into a mixing bowl. Mix them until they achieve a pizza dough texture. Using a rolling pin, roll them as thin as you can. I prefer them thin so that they are crispy.  If they end up to thick, they become chewy in the middle. Cut them out into desired shapes. Fastest, most efficient shape – use a knife to cut them into squares or rectangles. If you want to make it into a fun-filled family event (be prepared to do a fair bit of cleaning up), use cute cookie cutters!

Oven setting : preheat 180°C. 15-20 minutes.

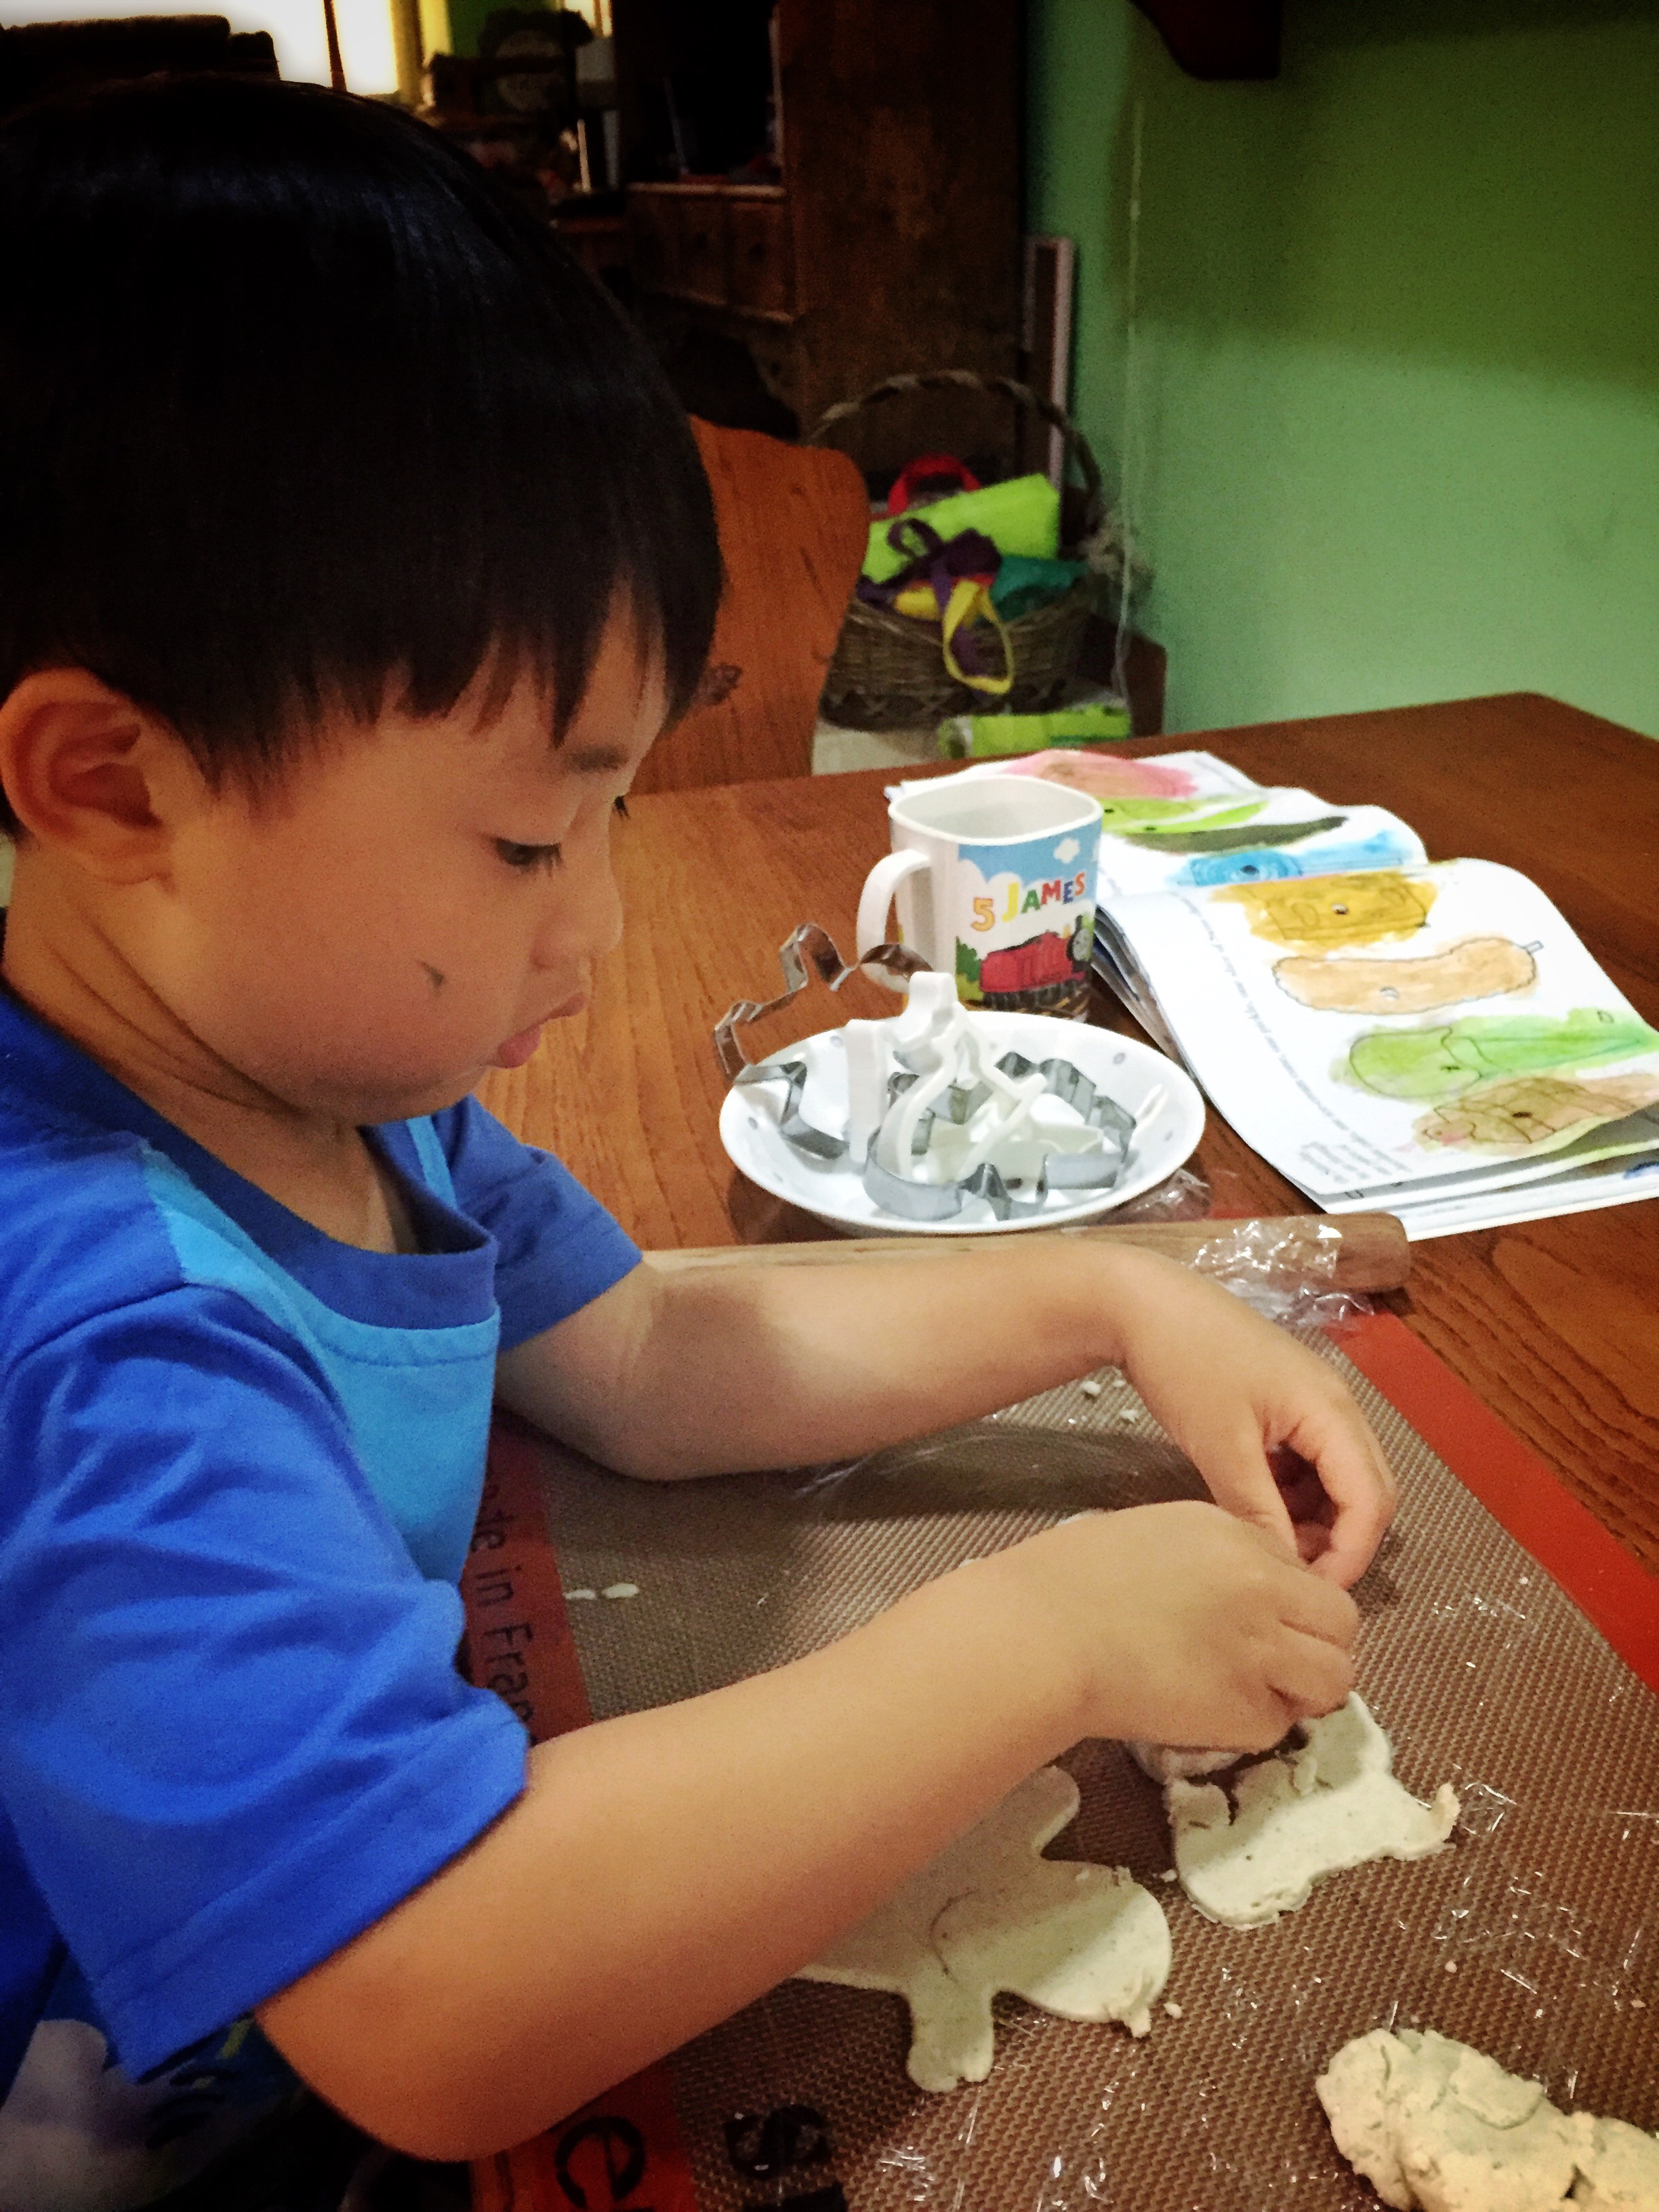
The kids love it! They can knead the dough like play dough, cut them up into their favourite shapes and EAT THEM!!! Yums!


Industriously cutting up his dough.


Messy but edible.


Little gingerbread boys and girls and a few animals to keep them company!

Home Made Soy Milk

Home Made Soy Milk

Ever since I bought the Joyoung Soy Milk Maker about 1.5 years ago, I’ve been meaning to write about it. But it kind of got back logged. ? Then forgotten. 


I bought it from Taobao at a fraction of what I would have paid in SG. The only difference is in the plug. Fortunately, I discovered that it can use the same plug as my rice cooker! So voila! Just plug it in!! Less hassle!! ??

I’ve been using it to make almond milk recipe for the kiddos. Just dump all the ingredients into it. Press a button. Wait for it to beep. Filter. Drink! 

It’s the same thing for the Soy Milk. I bought organic soya beans from cold storage. It doesn’t say non GMO on the packaging though. Just can’t find one that says non GMO. If anyone knows where to find it, let me know. 

Soy Milk Recipe 

  • 1 cup soya beans 
  • 4 cups water
  • 3 pandan leaves (shredded)
  • 8 dates (I use medjool dates)

1. Soak soybeans in 2-3 cups of water overnight.
2. Discard water and rinse soybeans.

3. Remove skins to your best effort. I rub them between my fingers. 

4. Add all ingredients to Joyoung. Press button. Read a book. ?

5. When the machine beeps, filter it with a sieve or coffee sock. 

6. Add honey or other sweeteners to taste. Or simply drink it straight up! 

I use the pulp to make gluten free crackers!!! 

Milk Kefir Popsicle

Milk Kefir Popsicle

The children have been clamouring for home made ice cream. I haven’t had time to make some for them. I need to make more desserts for bargaining chips!! ?

I had watermelon and milk kefir in my refrigerator and a set of brand new popsicle mould which I bought from Daiso (for only $2!! I love Daiso!!). My first popsicles in the making! ??????

I blended the watermelon and mixed in the milk kefir. Voila! Watermelon smoothie! Poured the mixture into the popsicle moulds and popped them into the freezer.

The mixture eventually separated into 2 layers. ? BUT my easy-going children loved them! Why? They are cold and they had 2 colours. ??? Anything cold goes with them.

I need to come up with more kefir popsicle recipes that don’t separate into layers though. Keep your eyes on my posts! ?

Ingredients :

Watermelon

Milk kefir


More kefir recipes

Little Miss Muffet's Curds and Whey

Little Miss Muffet's Curds and Whey

Little Miss Muffet

Sat on a tuffet,

Eating her curds and whey;

Along came a spider

Who sat down beside her

And frightened Miss Muffet away.

One of the nursery rhymes I learnt during my childhood days.  I have always wondered, what were “curds and whey”.  Now I know! Hey! I make that everyday from my milk kefir! They separate in curds and whey after fermentation and both are extremely nutritious. So Little Miss Muffet is a healthy little girl! Wahahaha!

In my last milk kefir post, I posted that my kefir grains were starved to death… Sigh… As I had no grains, what I did, was to “recycle” the curds. After fermentation, I would take a big scoop, put the curds into my glass container, feed it with milk, then ferment them again.  With the curds, I was able to continue making more kefir.

Why?

Well, that’s because there is still live culture present in the curds. The live culture continues to stay alive and cultivate the milk.  Theoretically speaking, this can go on and on and on.  However, as they are microscopic and can’t be seen by the naked eye, the only way to test the amount of culture in the curds is by lab testing. If the bacteria die off, it will stop cultivating. The safer way is to still obtain the kefir grains for cultivating the bacteria.

So, I used curds to culture my kefir for quite a while, til Marcelly came to my rescue! By giving me more grains!! Thanks babe!!

It’s just a useful tip for you. If you are able to get live cultured curds, you can technically make curds for quite a while, even without grains.

Therefore, if you are unable to find grains, you can buy the original milk kefir from Craft & Culture and then use it to make more kefir.

Happy fermenting!

Milk Kefir Food

Milk Kefir Food

Ever since I started milk kefir making, I have incorporated it into our diet.  In order for the diet to work, it has to be worked into our lifestyle permanently. Milk kefir has over 40 strains of culture. Just google milk kefir and you will find that it’s a wealth of goodness! Anyway, it’s a lot cheaper and more natural to eat this, than to buy the multi-strain probiotics capsules. Besides, it is helping my 宝贝’s eczema tremendously.  I will do anything for her!

So now, the whole family has been “gently persuaded” to have kefir for breakfast EVERY DAY! Yes! Every single day! Now, it’s just part of our diet. I will add on to the list… If you have any new ideas, please feel free to let me know!

Banana Raisins Kefir

Watermelon Kefir Popsicle

2 Ingredients Gluten free pancake

2 Ingredients Gluten free pancake

Oh great!! I ran out of gluten free pancake mix and the brand I usually use was out of stock on Iherb! After discovering Iherb I simply refused buy the gluten free or organic stuff from local shops anymore! It’s about 30% cheaper on Iherb, including shipping fees! I think I’ll write about Iherb when I’m free!

Anyway, I remembered vaguely that my cousin posted a link in our whatsapp group on some healthy easy-to-do recipes.

Ok… Time to test the pancake recipe. I was pretty skeptical about it because it only had 2 ingredients. Ya… Only 2… And you can find them in everybody’s home. Well… Almost! Maybe 90% of the people have them at home.

Easy peasy. Just egg and banana!!! Huh!! Do I hear you say “huh?!” My reaction exactly when I saw the recipe.

Aiya.. Even if 宝贝 doesn’t want to eat it, I will. I love bananas!

So the proportion is 1 banana (the big one. I use 2 small ones sometimes) : 1 egg

Mash up the banana. Add the egg. Beat them together. Drop a dollop of the mixture on a pan. Make sure your pan is not too hot. The banana burns easily. Once it solidifies, flip it over.

IMG_5287.JPG

Ta-da!! Here they are!! Not scoring high in the looks department but they certainly were yummy!!

These were the 2nd batch of my 1st attempt. The 1st batch ended up in my tummy. Too ugly to be seen! It took a few tries to get them reasonably decent looking. ?

But hey! They are gluten free, yummy and easy to make if I run out of breakfast food to serve up.

Have fun!

*Enter TFZ557 at Iherb.com to get $5 off your first purchase!*

1 July 2018

Finally got around to updating the recipe. The batter was too soft with just 2 ingredients and I had a hard time flipping them. I tweaked it a little by adding some coconut flour.

1 big banana (or 2 small ones)

1 egg

1 tablespoon coconut flour

Grapes or Blueberries?!

Grapes or Blueberries?!

Can you tell? Are they grapes or blueberries??

IMG_5660.JPG

I bought this box of amazing blueberries from cold storage. They were double the size of regular blueberries! In fact, they were as big as the grapes!

And the best thing was, they were succulently sweet!! Yums!

Kefir Breakfast

Kefir Breakfast

Ever since I started making kefir, I’ve been serving up kefir smoothies mixed with fruits. I need to start thinking of more variety of kefir food. ?

Because I don’t add sweetener to the kefir, I’ve to mix it with sweet fruits.

Our favourite banana slices, raisins kefir! Just chop up everything. Throw them into the bowl. Scoop kefir – quantity to taste. Mix. Voila! Easy enough for breakfast!

IMG_5617.JPG

The only one in the family who eats his kefir neat.

IMG_5633.JPG

You can also get milk kefir from Craft & Culture! Have a healthy day!

More kefir recipes

Healthy Living – Milk Kefir

Healthy Living – Milk Kefir

How I got started on Milk Kefir!

Wow! I’ve taken such a long break from blogging. My phone is bogged down with so many photos which I’ve stored for my blog articles which I’ve no time to write. I’m blaming it all on my holiday and procrastination.

Anyway, here’s something on what I’ve been up to lately.

Milk Kefir! In a nutshell, the good bacteria in Yakult and Vitagen? That’s it! Minus the high sugar concentration in these 2 drinks.

It all started when I was lamenting about the expensive probiotics that 宝贝 was taking to keep her eczema from flaring up. And hopefully, to introduce enough good bacteria into her system that she outgrows her food allergies.

“Why don’t you try making your own?” Celly said. “Very easy wan!!”

I looked at her doubtfully… “Sure or not?!”

Her mom managed to get some kefir grains from her friends and has been making kefir for them. Her son’s eczema condition has improved tremendously after eating it. I have read about people cultivating their own kefir but I never thought it could be done in hot, humid Singapore!

So she kindly gave me some starter kefir grains, with very clear and explicit instructions on how to do it. She even lent me her plastic sieve as I only had metal ones at home. I bought the equipment from Daiso a few days later. So I’ve done a few rounds of it and glad to say, my kefir grains are still surviving!!! ✌️Thanks Celly!!!

It simply tastes like original yoghurt. Sour loh. Only 小小宝贝 eats it in its original condition. Don’t ask me how he does it! He simply loves it!! The rest of us eat it mixed with fruits or cereal!

So how to go about doing it??

milk kefir grains.JPG

This is what the kefir grains look like. The bunch of spongy curd in the container.

Pour milk over the kefir. 100ml of milk for every 10g of kefir.

Milk in milk kefir.JPG

It’s so easy that 宝贝 can do it too!! Cover the container and leave a little gap so that the gas produced during the fermentation can escape. Or else you will be faced with a minor explosion of fermented milk in your cupboard… Something that I don’t look forward to. Leave it in a dark and cool place. I leave it in my cupboard that’s not frequently used so that it’s not disturbed. If you want it to be more liquid (smoothie kind), take it out after 2 days. I prefer it to be more solidified so I “harvest” it after 3 days.

stirring milk kefir.JPG

This is what it looks like after 3 days.

sieving milk kefir.JPG

Filter it with a plastic sieve. The filtered part is what I add into fruits.

filtered kefir grains.JPG

I’m left with the kefir grains after the filtering. Here we go again!

When my kefir grains propagate, I can give some away so that everyone can benefit from it. Hope they grow up soon!!!

1 Dec 2014

Thanks for all the comments and feedback left by my readers! Check out this link for more information on how to cultivate kefir and even recipes with it.

2 Dec 2014

This gets more interesting every day. After I started talking to people about kefir, I found out that kefir grains are being sold at Tekka market! So if you are in Singapore, head there!!

9 Oct 2015

A lot of things have happened since the last update.  First of all, I have changed the sieve.  I no longer use the one in the picture, because the holes were too big and my kefir grains kept slipping through them.  So they were not multiplying at all, as I kept losing them.  On the bright side, they ended up in my stomach, so it’s not too raw a deal. :p

I have since, changed to this plastic sieve and I stopped losing every single precious grain.

sieve for milk kefir I have also changed my fermentation time to half a day.  This is also dependent on the weather and location. As Singapore is a warm country, the fermentation time tends to be shorter than in temperate countries.  If you like a more sourish taste, then you can leave it out for 1 full day.  I have taken it out of the dark cupboard and left it on my kitchen tabletop so that it’s more convenient.  Therefore, the fermentation temperature is higher than the dark cupboard as well.  These are some contributing factors.

I have also switched to glass containers to house the kefir.  Plastics are generally pretty stable and shouldn’t react with the kefir, but since I have glass containers at home, I use them instead.

New Instructions :

  1. Put the kefir grains in a glass container with a wide opening.  I’m using a pyrex glass container. For every 10g of kefir grains, pour 100ml of milk over them.
  2. Leave them to ferment in a cool place, away from the sun.  Fermentation time depends on temperature. Optimal temperature is around 22-25 degrees C. For Singapore weather, fermentation time is around half a day.  If you like it to be more sourish, then ferment them for 1 full day.
  3. Sieve the grains using a plastic sieve with fine holes. Kefir is ready to be eaten.  Store them in the refrigerator.
  4. Put the kefir grains in a glass container and repeat step 1.


25 Dec 2015

Please check out my website Craft & Culture!  There’s a wealth of information on cultured food on it and its facebook page.

26 Dec 2015

The things I do with Milk Kefir! Yums!

27 Dec 2015

Don’t make the same mistake as I have done. My poor kefir starved to death….

30 Jan 2016

Temporary stopgap measure to continue with milk kefir cultivation while waiting for my new kefir grains. Yep! I continued cultivating milk kefir without the grains.